
Hello, cyclists! I hope that the week has been treating you all well so far.
Before I begin, have you checked out my last post titled “Workouts for Indoor Cycling“? If you’re finding yourself struggling continuing your cycling routine in the winter, this post is for you. There are many great workouts that you can do indoors if your weather isn’t allowing you to hit the pavement as often.
For today, we have another entry in the Bicycle Maintenance section of the blog. I stumbled upon a wonderful article by www.bicycling.com all about common sense cycling tips that every cyclist should know (see the article here). I read the entire article and found the tips that resonated with me the most. Today, I’m sharing those with you.
Please read the tips below to check and see how many of them you actually know! It’s always great to brush up on maintenance tips in the winter so that you’re prepared when you’re outside more frequently in the summertime.
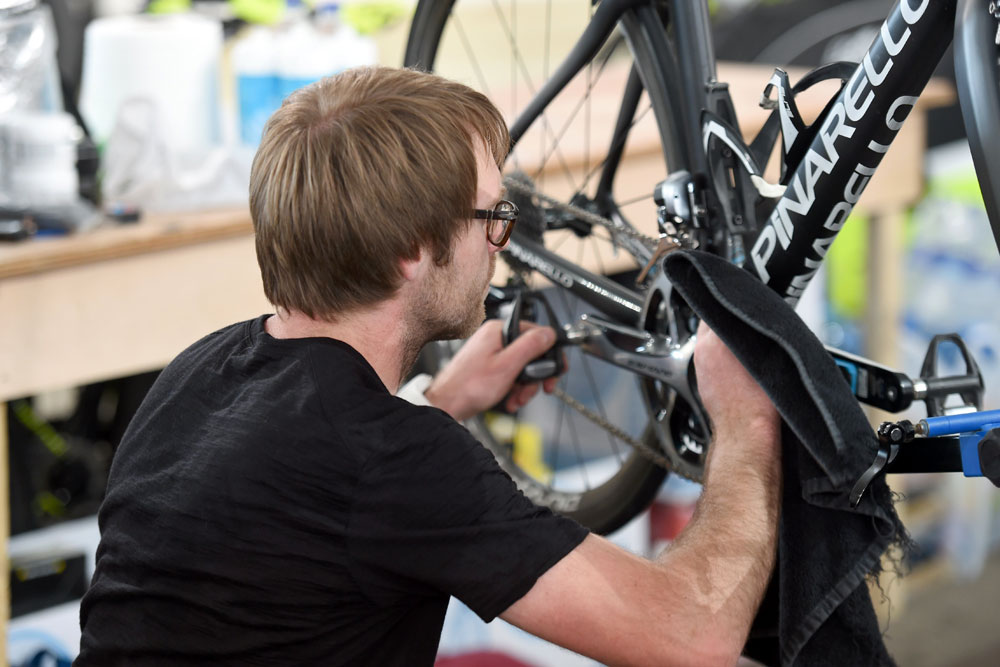
- You can’t properly adjust a bicycle that is dirty and not lubricated.
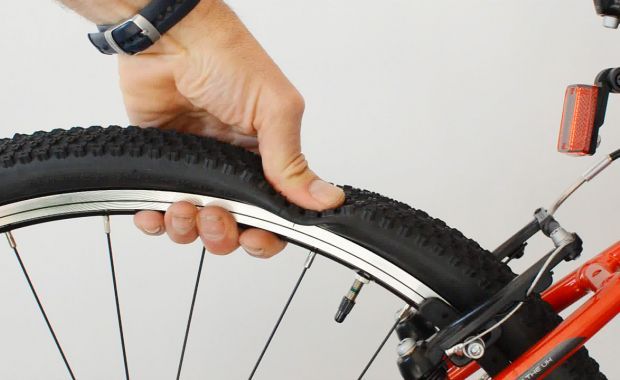
- Perfect the art of changing a flat tire. No excuses.
- When disassembling something, keep track of the order in which you remove parts. It takes the mystery out of putting it back together.
- Check tire pressure before every ride, especially if you’re running tubeless.
- When tinkering with anything near your cranks, shift into the big ring first so you don’t mangle your hand on the chainring teeth.
- After you box your bike for travel but before you seal it, give it a side-to-side shake to note any loose or rattling parts. Then secure them.
- If your bike makes a noise, it’s trying to tell you something. Don’t ignore it.
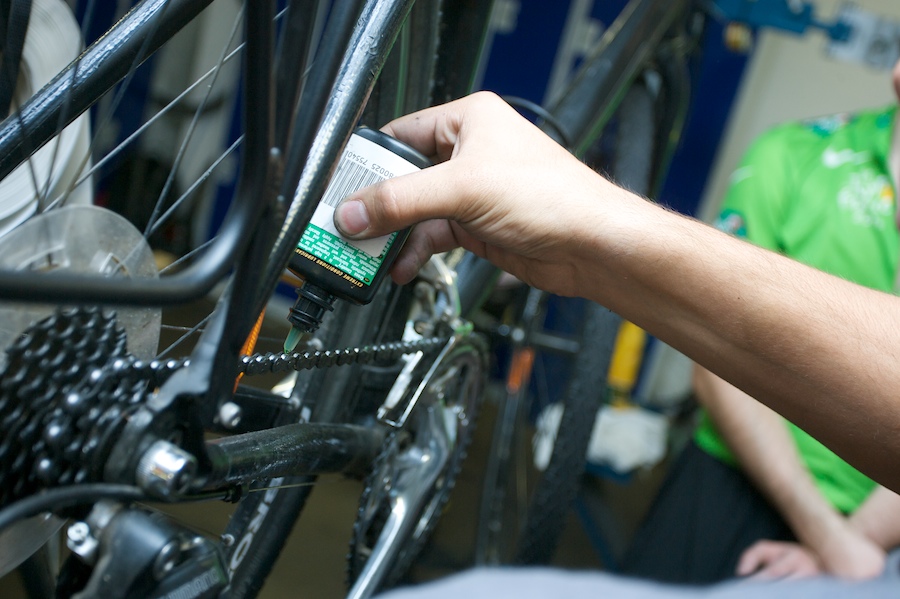
- Use a light lubricant to silence squealing rear-derailleur pulley wheels.
- If your saddle creaks, drip a few drops of oil on the rail where it connects to your saddle and into the clamp where it grips the rails.
- Don’t be a hero. Whether it’s due to lack of knowledge or experience, or not having the proper tools for the job, you are not capable of every repair. Sometimes you have to take your problem to a professional.
- Find out what your shop mechanic’s favorite afternoon munchie is, then bring it along the next time you stop in for a repair.
- Use sandpaper to roughen up glazed brake pads.
- Do not use a solvent to lube your chain.
- If your wheel doesn’t sit straight in your bike after a hub overhaul, make sure the springs on the quick-release are installed correctly. The tapered end should always face in.
- Lots of experts tell you to use a level on your saddle as a starting point for comfort. What they might forget to mention: Your bike has to be on a level surface for this to work properly.
- Places where grit hides: in brake pads, between tubes and tires, in cleats and pedals.
- The difference between an axle and a spindle: An axle remains stationary while something rotates around it (think wheel); a spindle revolves inside a stationary body (think bottom bracket).
- Pluck your spokes often so you get to know what feels and sounds right. When one feels off or its tone is different from the rest, you know you have a loose spoke.
- If the type on your front hub doesn’t read left to right as you sit in the saddle, your wheel is installed backwards.
- Avoid a shredded fingertip. Always cap off the end of a freshly cut cable.
- Cut shift housing square and brake housing at an angle.
- If you store your tools in a toolbox, color-code them with their corresponding drawers or slots. If you have a pegboard in your shop, trace each tool in the spot where it hangs. Everything will be easier to find.
- When you disassemble something complicated, use your smartphone or digital camera to document the process. If you end up with an extra part after reassembly is complete, you can look back at your pics to figure out when and where things went wrong.
- Replace a worn seatpost clamp. If you keep riding on it, your saddle won’t hold its position.
- Protect your frame from rubs with neatly applied electrical tape or anti-slip bathtub tape.
- To correctly close a quick-release skewer, tighten the nut on the opposite side just until firm, then flip the lever to the closed position. You should feel resistance but still be able to completely close the lever. If you can’t, open the lever, loosen the nut a bit, and try again.
- Carbon seatposts always get friction paste regardless of frame material. Carbon frames always get friction paste regardless of post material. Metal frames and posts always get anti-seize compound or grease.
- If you don’t remove the instigator—thorn, glass, stone, metal shaving—from the inside of your tire, or look for a tear in your tire’s sidewall, you will flat again. And again.
- Hang hooks in your garage to keep your bike vertical. Resting it on its side can knock your derailleurs out of whack.
- If you have no choice but to store your bike on a damp concrete garage floor, slip cardboard underneath the tires to prevent dry rot in the casings.
Many thanks, readers! Hopefully you gave some thought to the maintenance of your bicycle today and, perhaps, can learn something new to save you time and energy in the future.
Image Sources:
- http://beagreencommuter.com/wp-content/uploads/2014/09/fix-it-bike-maintenance-course-03111.jpg
- https://www.sustrans.org.uk/what-you-can-do/cycling/your-bike/bicycle-maintenance-made-easy
- http://www.cyclingweekly.com/news/latest-news/11-bike-maintenance-mistakes-and-how-to-avoid-them-198596
- https://www.bikecitizens.net/top-5-bicycle-maintenance-tips/
- http://www.loukatactical.com/course30.asp