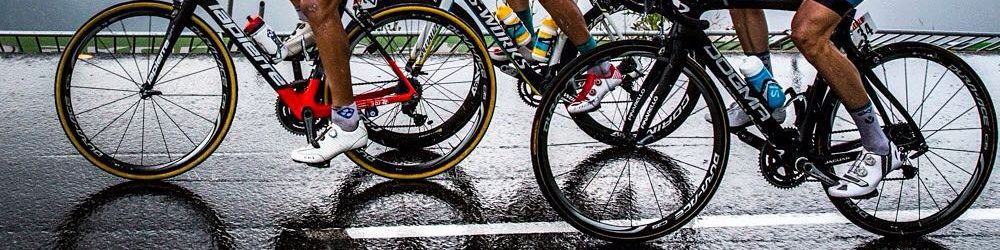
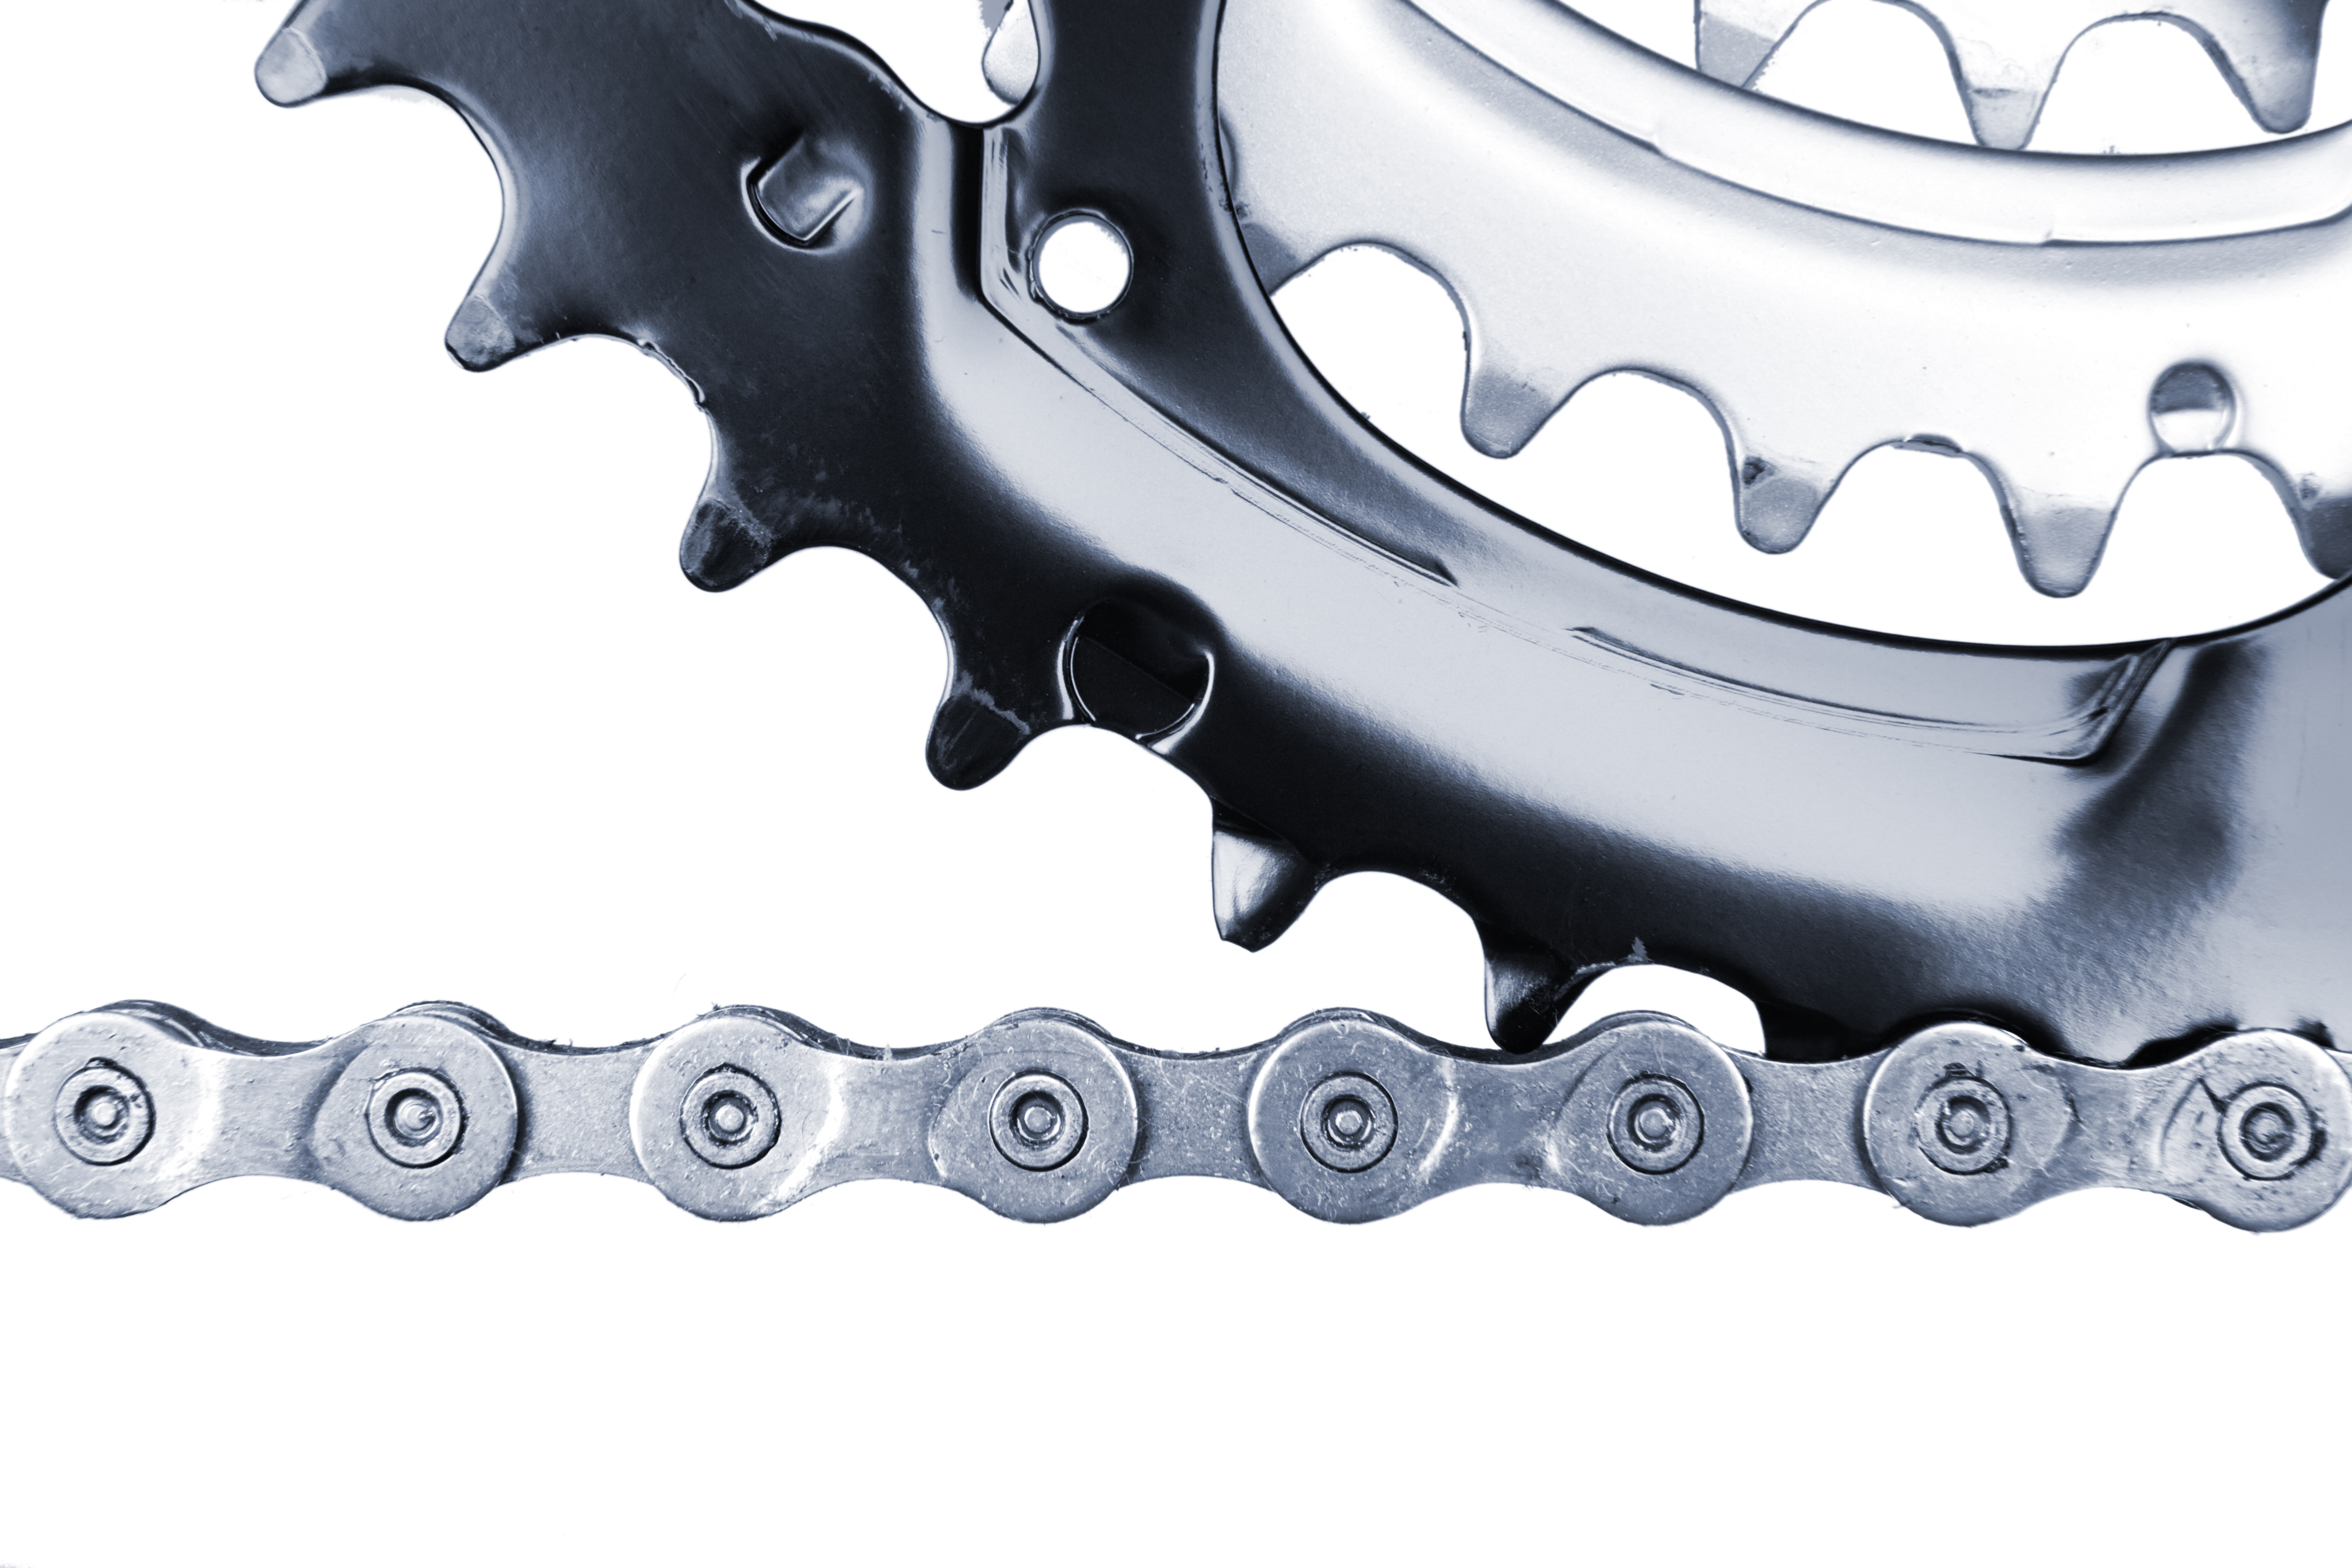
A bike is made of many parts and the most essential of them all are the chains without them the bicycle would not work. Due to the frequent movements a bike makes it is prone to wearing out that is why some simple skills are necessary. While many bike owners consider changing a bike chain a daunting task it is actually a very do-it-yourself job.
Here are ways to get your bike on the road again:
1. ASSESS THE PROBLEM
The first technique to solving something is by identifying the root cause, the major sign is a hanging chain from the sprocket. It is advisable to stop by the side and try to find the ends of the broken chain, after finding them try re-threading by joining the links by a metal pin. Always remember to carry a chain tool for emergency.
2. CHANGE THE CHAIN COMPLETELY
It is not a must for you to repair your chain if the damage is too much then it is logical to put a new one. Turn the pedals so as to make it easier to get rid of the old chain, if this does not work then it is time to introduce a chain tool, hold the handle of the chain firmly and drive the pin out.
3. LIFT UP THE BACK WHEEL
After you have removed the old chain it is time to thread the new chain, to do this you need to hang your bicycle either on the wall using a hook or by placing it on a bike rack.
4. THREAD THE CHAIN
You should do this through the back derailleur which on most modern bikes is the gears found hanging on the front. Take the end of the chain without a pin then pass it through the bottom pulley to the top pulley, this is very simple, to ensure you have done it properly assure that it has formed an S shape, if not then repeat the process again.
5. STRAND THE CHAIN ON THE BACK CASSETTE
A cassette contains many sprockets and it is usually fixed to the rear wheel. After completing the above step go ahead and pass it through the tiniest sprocket in the cassette.it is very important to make sure that the chain is very tight.
6. THREAD THE CHAIN THE FORE CAGE
This is a very important step because by doing it in the right way you save yourself much trouble with your bike in the future. Simply strand the prime chain onto the front derailleur. Through the smallest sprockets align your chain by stretching it out then check it out by repeatedly cycling the pedals.
7. CONNECTION
It is now time to get on the move but not without forgetting to attach the ends of the chain which have successfully passed through all the above mentioned process. To enable you do this well you will require a hook shaped like a C to make sure you hold the chains end properly without losing it.Be aware that this is the last process and it should be gently carried out as lack of proper attachment could lead to another repair.