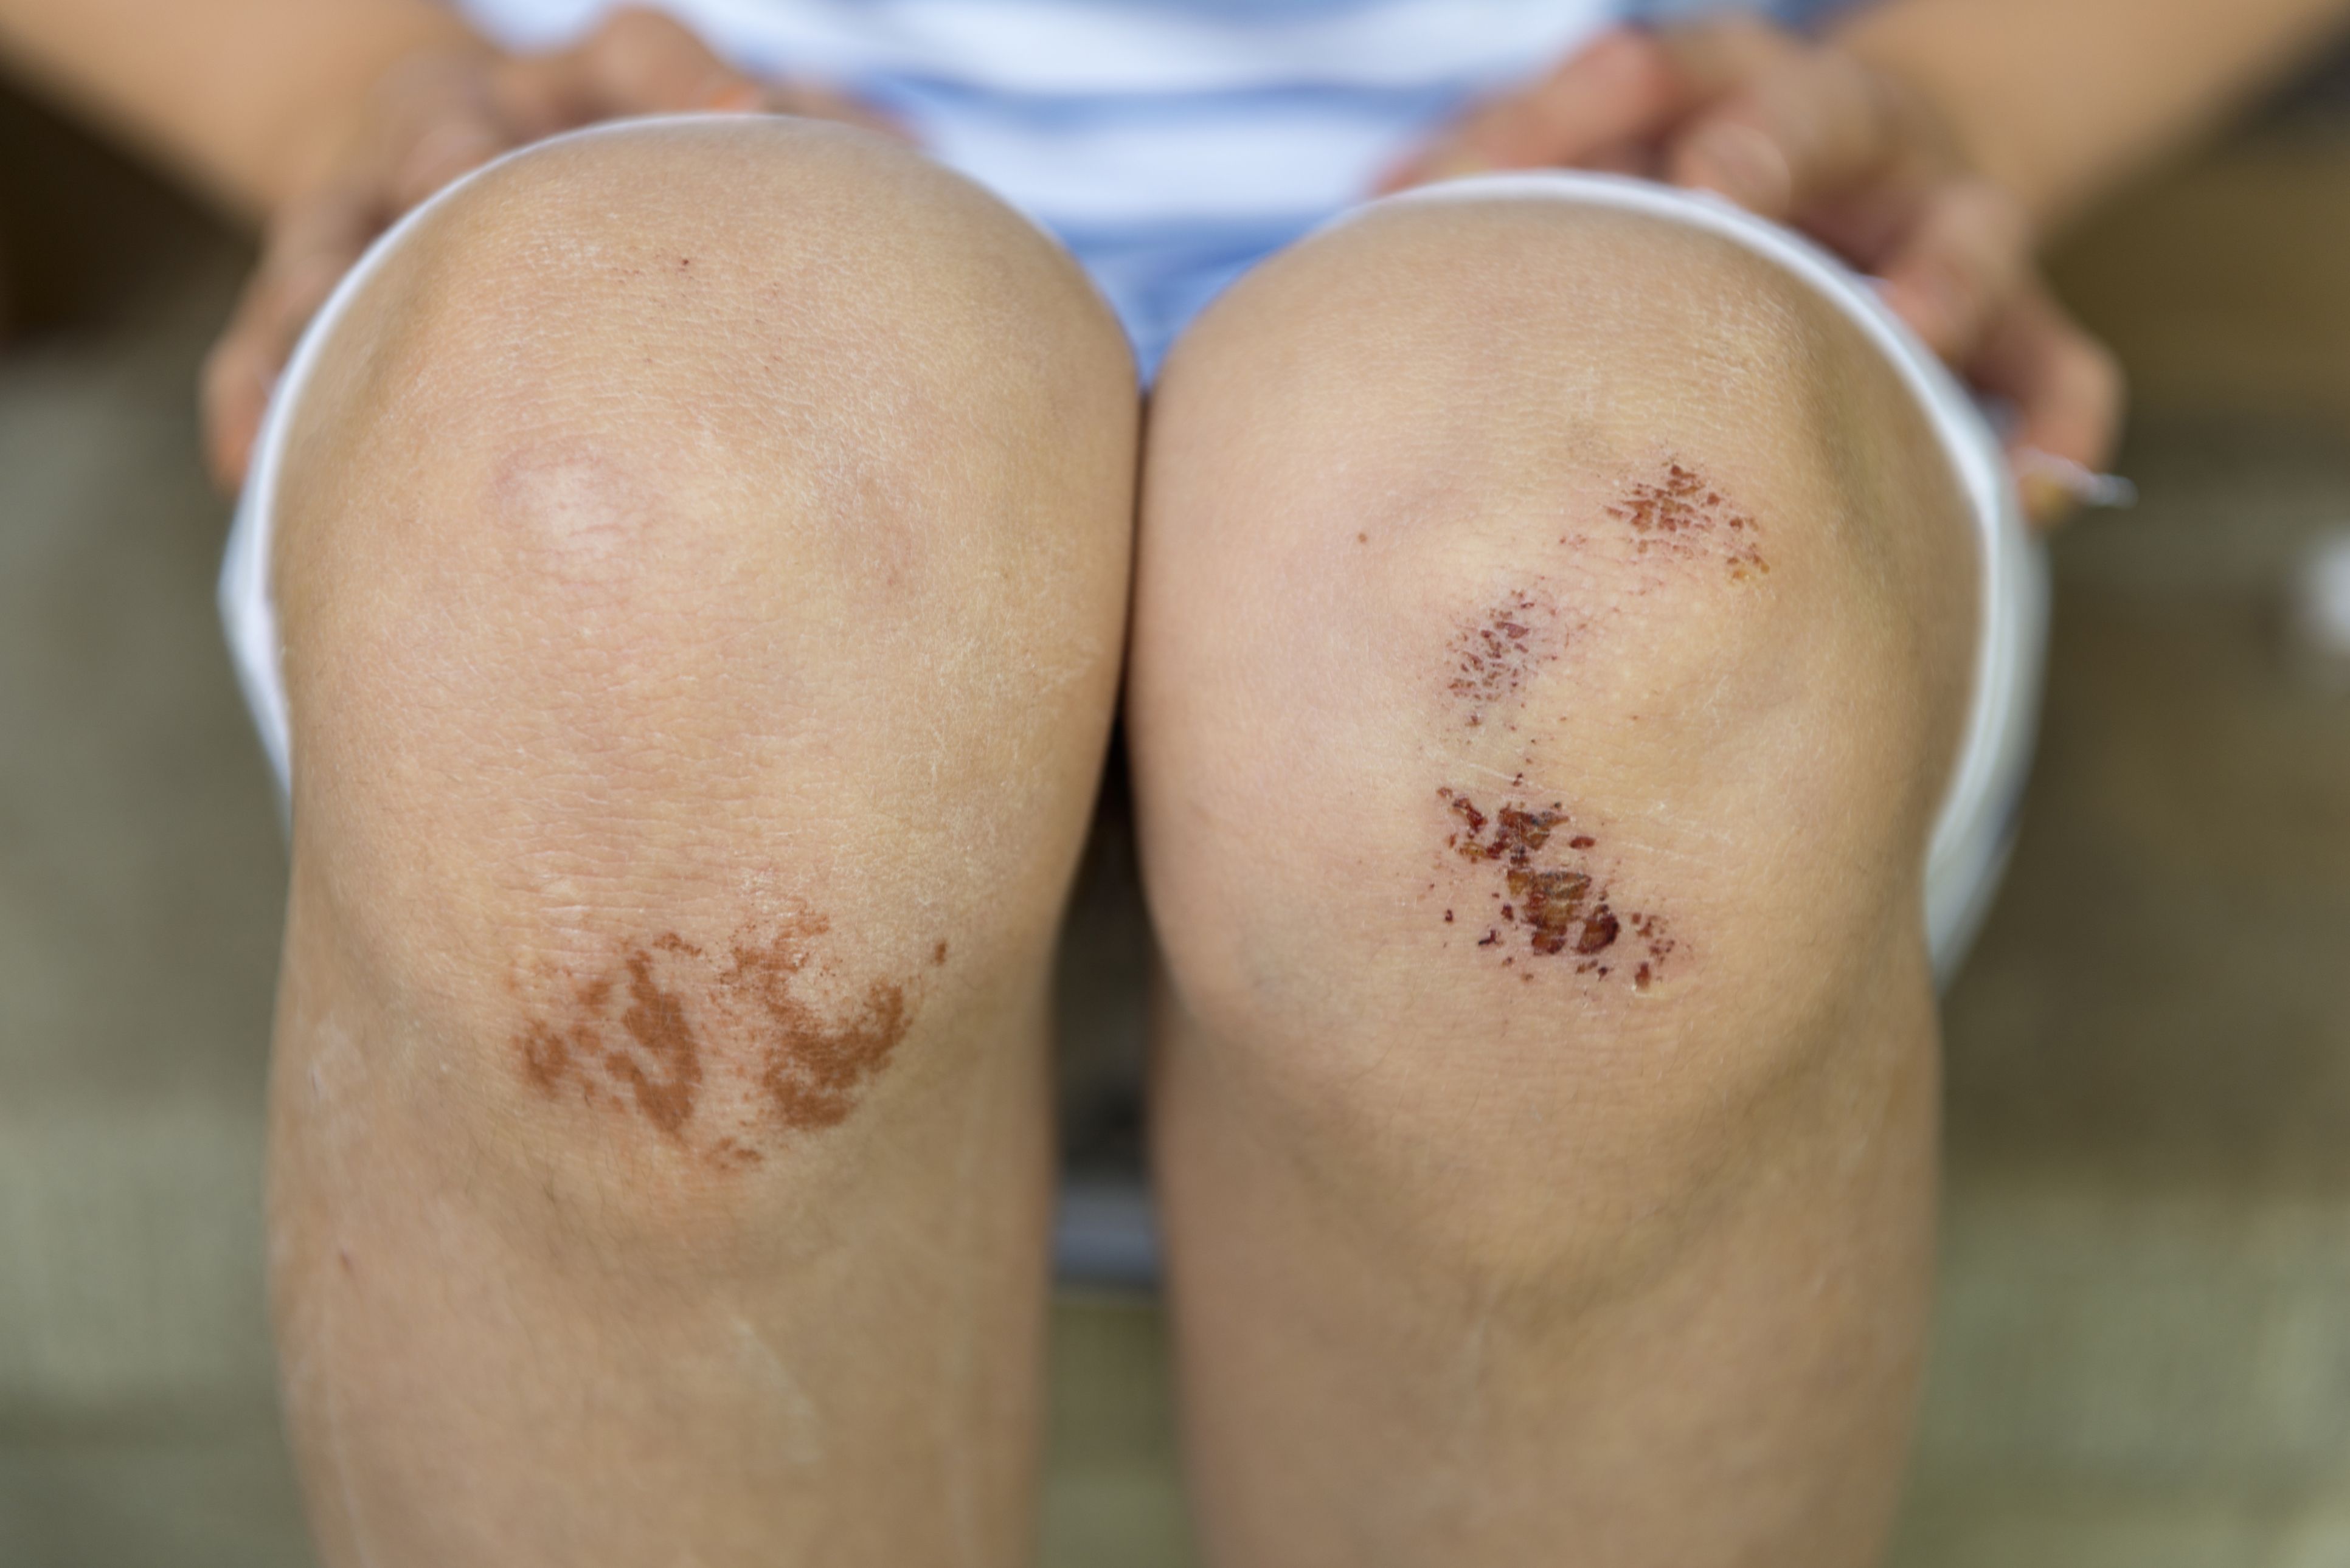
If you’re an avid cyclist, you’re bound to encounter the dreaded road rash at some time or another. As someone who’s been cycling for many years, I must admit that I’ve come face-to-face (literally) with pavement quite a few times.
I recently received an email from a blog reader posing the following question:
“I just took my first bad spill on my bike and have a nasty road rash on my leg. What’s the best way to treat it?”
Since I’m all-too-familiar with the sting of scraped skin, I’ve experimented with different treatment methods and am happy to say that I think I’ve found the ultimate remedy. Today, I’ll share another post in the “Ask Bart Haynes” series and share the 5 steps of how to treat road rash.
How to Treat Road Rash
Step 1: Be prepared
This step is one you can take before a fall in order to speed the healing process and prevent infection. It’s always best to stow a small bottle of disinfectant either in your saddle bag or in your riding backpack. It’s probably impractical to carry a hefty first-aid kid along with you, and chances are you’ll want to treat your rash at home rather than on the side of a busy street. Therefore, by carrying and squirting a few spritzes of disinfectant on your wound, you’ll quickly kill germs and decrease your chances of visiting a hospital. I’ve always used Bactine Pain Relieving Cleansing Spray. It does the trick and also takes the pain away for your ride back home.
Step 2: Wash the wound immediately
When you walk through the door and into your bathroom, the first thing you’ll want to do is wash the area of road rash. Don’t treat the wound before washing even though it will sting. Also, this is important: the water you use must be clean drinking water. If you don’t drink the water from your tap, don’t use tap water to wash your wound. Wash gently and don’t scrub hard. If you have a particularly nasty rash, use Medline Cleanser Wound Skintegrity Spray instead of soap.
Step 3: Dress your wound
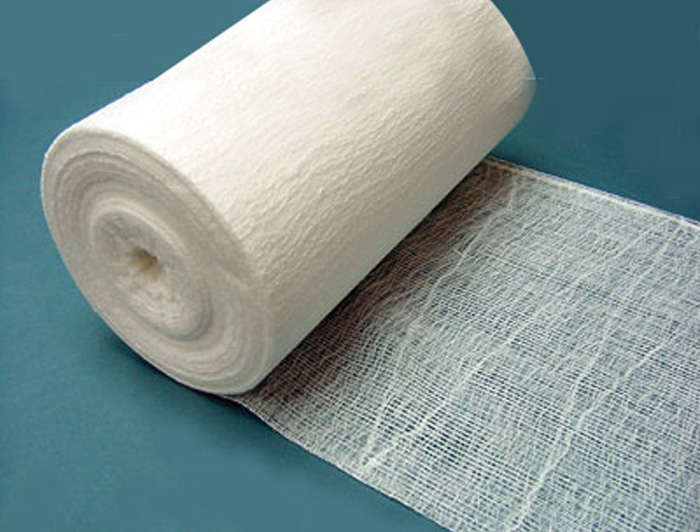
After your wound is washed and clean, you’ll want to make sure that it heals quickly. In order to do this, you’ll first want to put a moderate salve of antibiotic ointment over the rash. I’ve tried several ointments and have found the most effective to be Polysporin First Aid Antibiotic Ointment. However, if you have Neosporin or some sort of store-brand ointment such as Walgreens Triple Antibiotic Ointment, these work fine as well. After you’ve applied the ointment, cover it with a large bandage or a gauze. I’ve always used 2nd Skin Moist Burn Pads. I’ve found them to be sticky, long-lasting, and effective in aiding the quick healing of my road rash.
Step 4: Monitor your wound closely
The next step involves avid checking and ongoing treatment of your wound. Don’t ignore it or neglect changing your dressing! If you do, the chances of infection will skyrocket. Therefore, keep a close eye on how your road rash is healing. Inspect and change your dressing at least three times a day. If you are developing some sort of infection, you’ll see swelling and redness and experience increased pain. This will be a sign to you to go to a doctor immediately. If your road rash worsens to this level, you might need antibiotics to help you in the healing of your wound.
Step 5: Heal to completion and prevent scarring
When your rash is almost healed, don’t forget about it and stop dressing your wound. Help yourself heal completely by continuing to apply ointment and cover with gauze until your road rash is no longer noticeable. To prevent scarring, moisturize the area after the road rash is completely healed with a high-quality lotion. Doing this twice a day will give you the best results. I’ve also found that using a scar cream such as Mederma Gel Scar Treatment aids in the quick fading of marks.
I hope these 5 steps will help you when you experience the inevitable road rash! These simple steps are what I’ve found to be best in terms of home care. As I said, if you think you’re developing an infection, don’t continue treating at home. Go to a doctor immediately.
Best of luck staying on top of your bicycle! Happy riding!
Photo Credits: