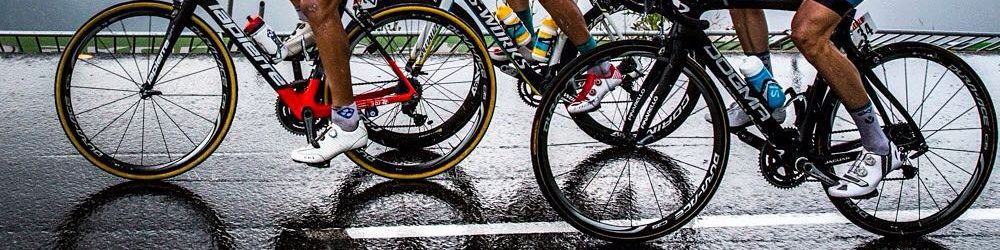
If you’re like me and have noticed that your bike is worse for wear after months of riding in winter conditions, it might be time for your bike to get a bath. I’ve recently noticed that my bicycle has accumulated a not-so-attractive layer of grime after carrying me over slush, ice, and dirt these past few months.
When I was a beginning cyclist, I rarely cleaned my bike and didn’t think it important to pay attention to the physical condition of my ride. However, especially after drinking gatorade and other electrolyte-infused drinks, I quickly learned that bicycle cleaning was an essential part of bicycle maintenance. According to an article published on bicycling.com titled 4 Surprising Ways You’re Hurting Your Bike, neglecting the cleanliness of your bicycle could result in the gradual deterioration of your frame, your drivetrain to slow due to the build-up of dirt, and minor damage turning into major problems due to lack of bike inspections.
For those of you interested in getting into a bicycle cleaning routine but don’t exactly know how to go about it, I’ve created an easy 4-step method to follow to make sure your ride stays in top condition.
Step One: Set Up
Paying close attention to the set-up of your bicycle cleaning station will ensure that you have everything ready to go so that you don’t forget or neglect any steps of the cleaning process. For this, you’ll need to locate and set out:
- A bucket filled with clean water and dish soap
- A soft sponge
- A toothbrush
- Chain lubricant
- A stiff bristle brush
- A dry rag
- Access to a hose
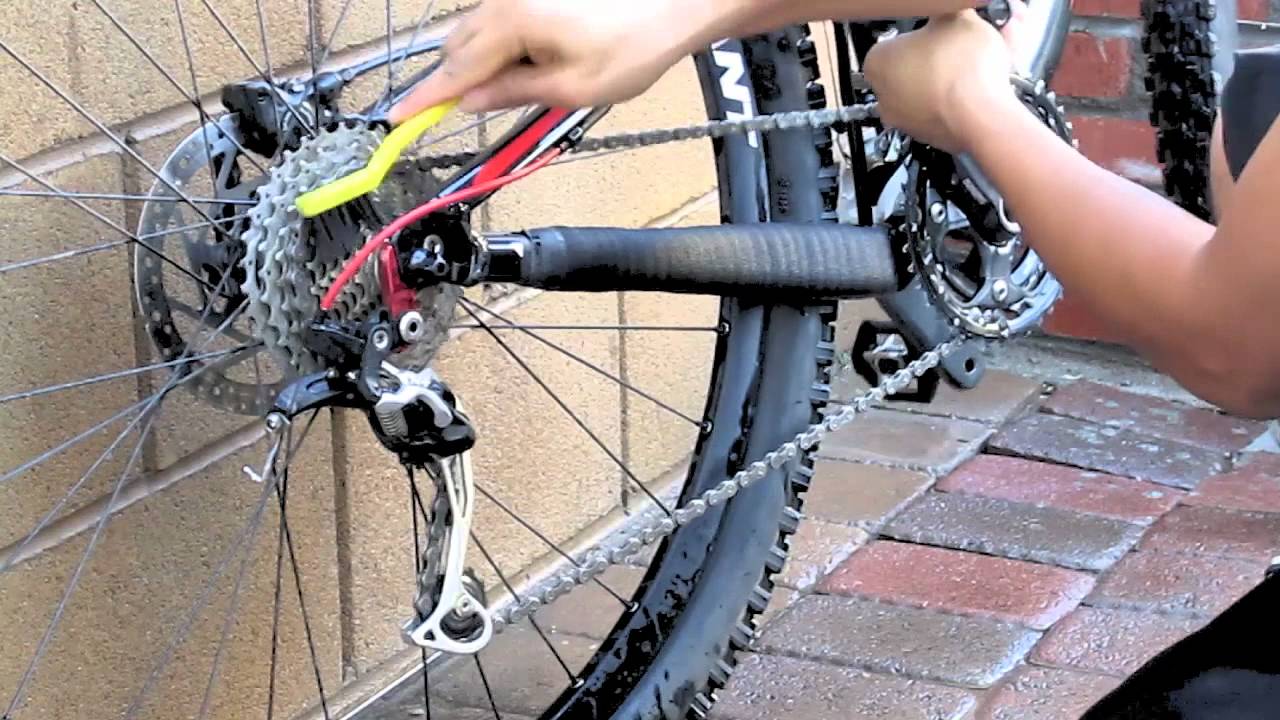
Step Two: Concentrate on the Chain
I like to pay extra attention to the chain since the chain causes frequent problems and oftentimes needs the most cleaning. First, get out your chain lube and toothbrush. Then, brush out the links. After you do a once-over with the brush, get out your chain lube and apply to the links. Once you’re finished, wipe off any excess lubricant with a rag. (Be sure not to over-lubricate as this will actually attract dirt on your next ride.)
Step Three: Clean the Frame
Next, concentrate on the frame of your bike. Use your soft sponge and bucket of soapy water to soap up the frame. Do this methodically – either back to front or front to back – so that you cover your entire bike. Cleaning methodically will also help you spot any place of small damage if it exists.
Step Four: Small Details
Finally, look over the smaller details of your bicycle such as the drivetrain, rims, and spokes. You don’t necessarily need to detail clean at every wash (I usually do a thorough clean about once every 1-2 months). However, checking the details will help you once again spot any damage and help you clean out any dirty spots that may lead to corrosion or damage. Use the toothbrush to clean smaller spots and crevices and the sponge to go over broader areas. Afterwards, rinse everything off with the hose and make sure no soap or residue is left.
Once you have established a routine to clean your bike on a regular basis, you’re sure to extend the life of your bicycle. Best of luck on the road!
Image courtesy of PRELUDEDRIVEN MTB